A guide to AI wireframing
Product teams will often use wireframes as a way to provide an overview of a product design, or a proposed product solution, and they can be extremely useful in ideating a new layout or presenting a change to a stakeholder. But after the initial sketch, how can you and your team utilize wireframes further?
With an AI wireframing tool such as Uizard, wireframes can be used in both the ideation and iteration stages to help move a product solution from idea, to a fully-fledged visual. AI wireframing not only speeds up the wireframe creation process, but allows teams to use low-fidelity visuals at every stage of their design journey. In this article we will run through how you can use Uizard’s AI wireframing features to progress your project through the use of wireframes.
Skip to section:
Is there an AI tool that creates wireframes?
How to create wireframes with AI in Uizard
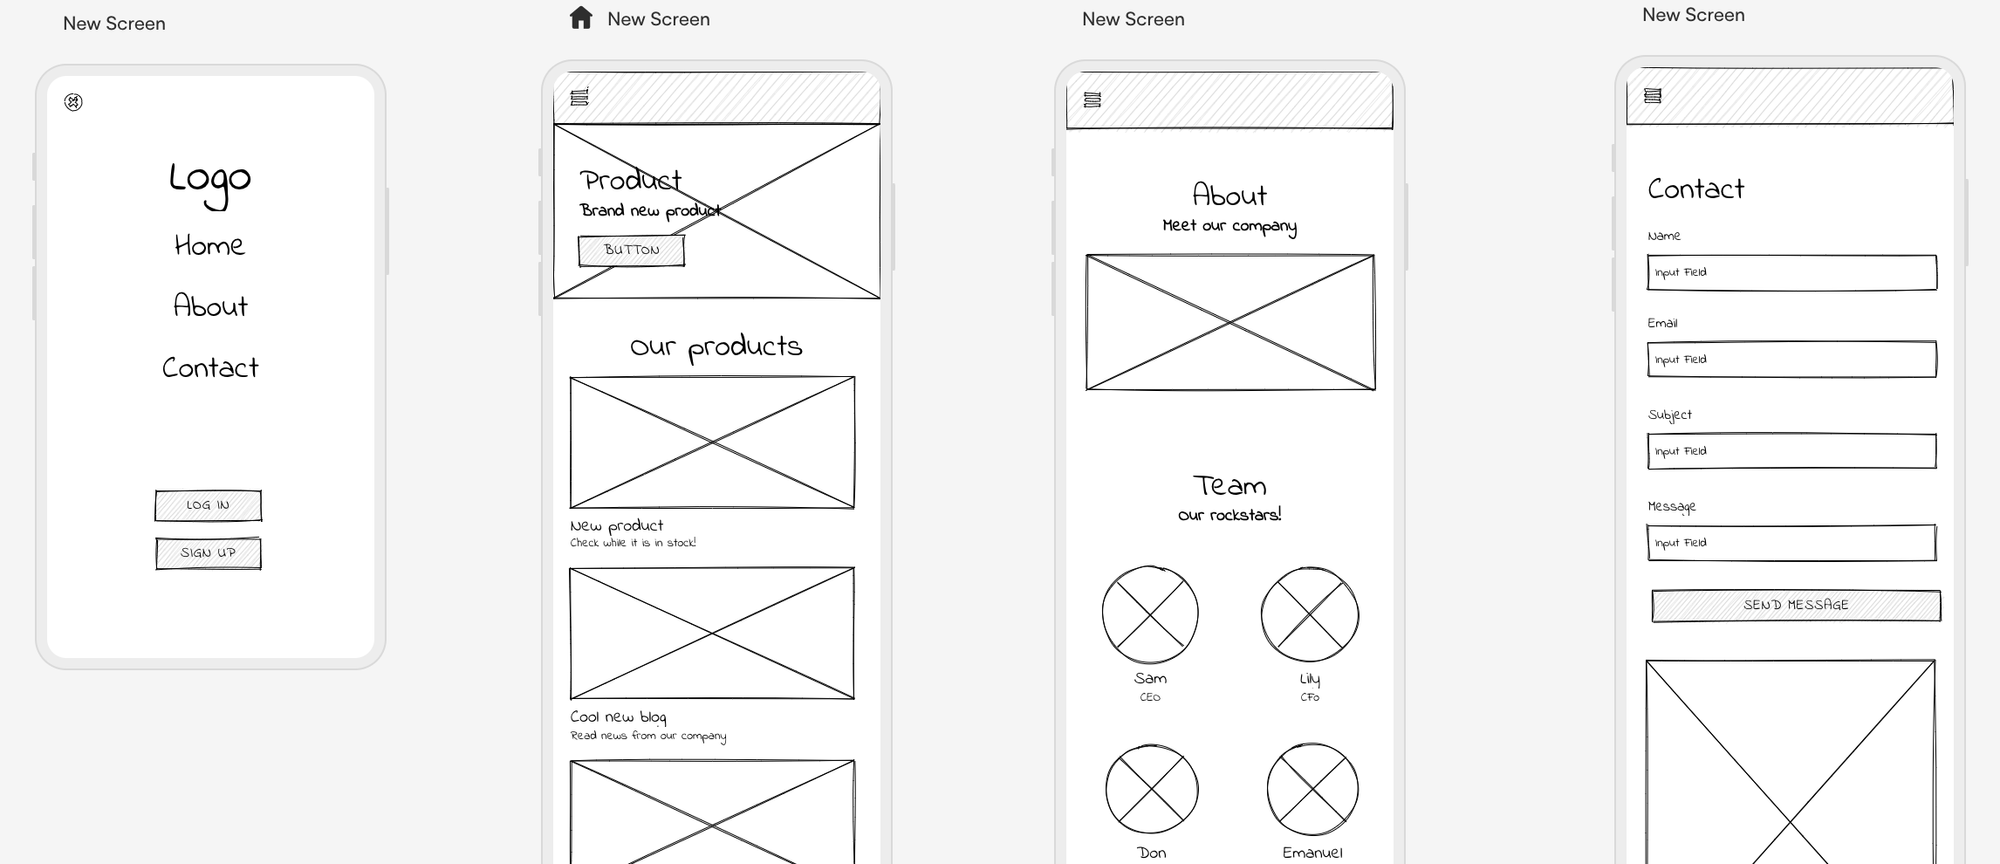
What are wireframes?
So, what is a wireframe? A wireframe is a bare-boned, or low-fidelity, representation of a product design. Whether that is an app or web design, a wireframe gives a black and white overview of the finished product design’s layout — including desired components or elements. Wireframes are usually used to ideate a new product design, a layout, or feature improvements. And they offer a great starting point for product teams, without taking up the time of a professional designer.
Is there an AI tool that creates wireframes?
Yes. With Uizard you have access to several AI features that can generate single and multi-screen wireframes, or turn high-fidelity prototypes into low-fidelity wireframes at the flick of a switch. From Wireframe Scanner to generating wireframes from prompts with Autodesigner, Uizard maximizes your ability to use wireframes throughout a project, and not just in the early stages.
Why are digital wireframes useful?
When product teams generate low-fidelity versions of their product solutions in Uizard, not only is it beneficial for them from a layout analysis perspective, but it also helps when sharing with stakeholders to get that rapid sign-off or much-needed feedback. Low-fidelity product solutions allow the layout to be analyzed, without the aesthetics getting in the way. And this is great when it comes to feedback from internal team members or stakeholders. With Uizard, digital wireframes can help product teams go from a simple idea to a concrete visual that can be used to express their desired product solution to developers.
How to create wireframes with AI in Uizard
There are several AI wireframing features in Uizard that product teams can use. From multi-screen wireframe generation to switching between high and low-fidelity on an existing product solution, there are endless possibilities of wireframing with Uizard. Let us run you through our features.
Autodesigner
How can you use AI to generate a multi-screen wireframe project? With Autodesigner you can use a simple prompt to create a set of low-fidelity product visuals. All you have to do to get started with AI wireframing is open up the Uizard app, and at the top of your dashboard select ‘Generate with Autodesigner’. From here, enter a prompt describing your desired project, and then instead of specifying a design style, simply select the ‘Hand-drawn’ keyword. This will ensure that once you click ‘Generate’, the output will be in entirely low-fidelity as a multi-screen wireframe project. For a detailed look at this process, take a look at our article ‘Text to wireframe with Autodesigner’.
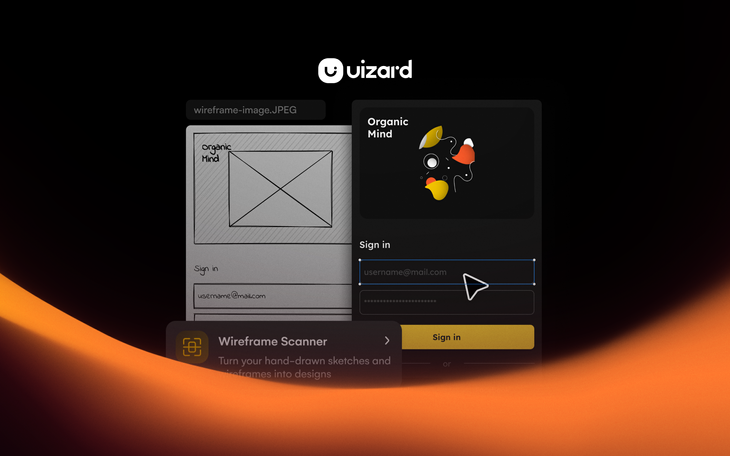
Wireframe Scanner
Often, wireframes will be sketched to kick-off product solution ideations, or to brainstorm possible product design ideas, but how can they be utilized after the initial sketch stage? With Wireframe Scanner, you can upload your hand-drawn sketches and watch as Uizard’s AI-powered feature transforms them into a fully-editable, high-fidelity product visual.
To use Wireframe Scanner to start from scratch, select ‘New blank project’ on your Uizard dashboard, and then head to the magic tab on the left hand panel. Here you will find the Wireframe Scanner feature, and you can then upload an image of your sketch either from your files, or by using the QR functionality. If you want to add a new screen at any point in your design process by using this feature, you can do so using the same steps. Once that your wireframes have been converted into high-fidelity you can then edit them to your liking. Go from wireframe sketch to editable mockup in no-time.
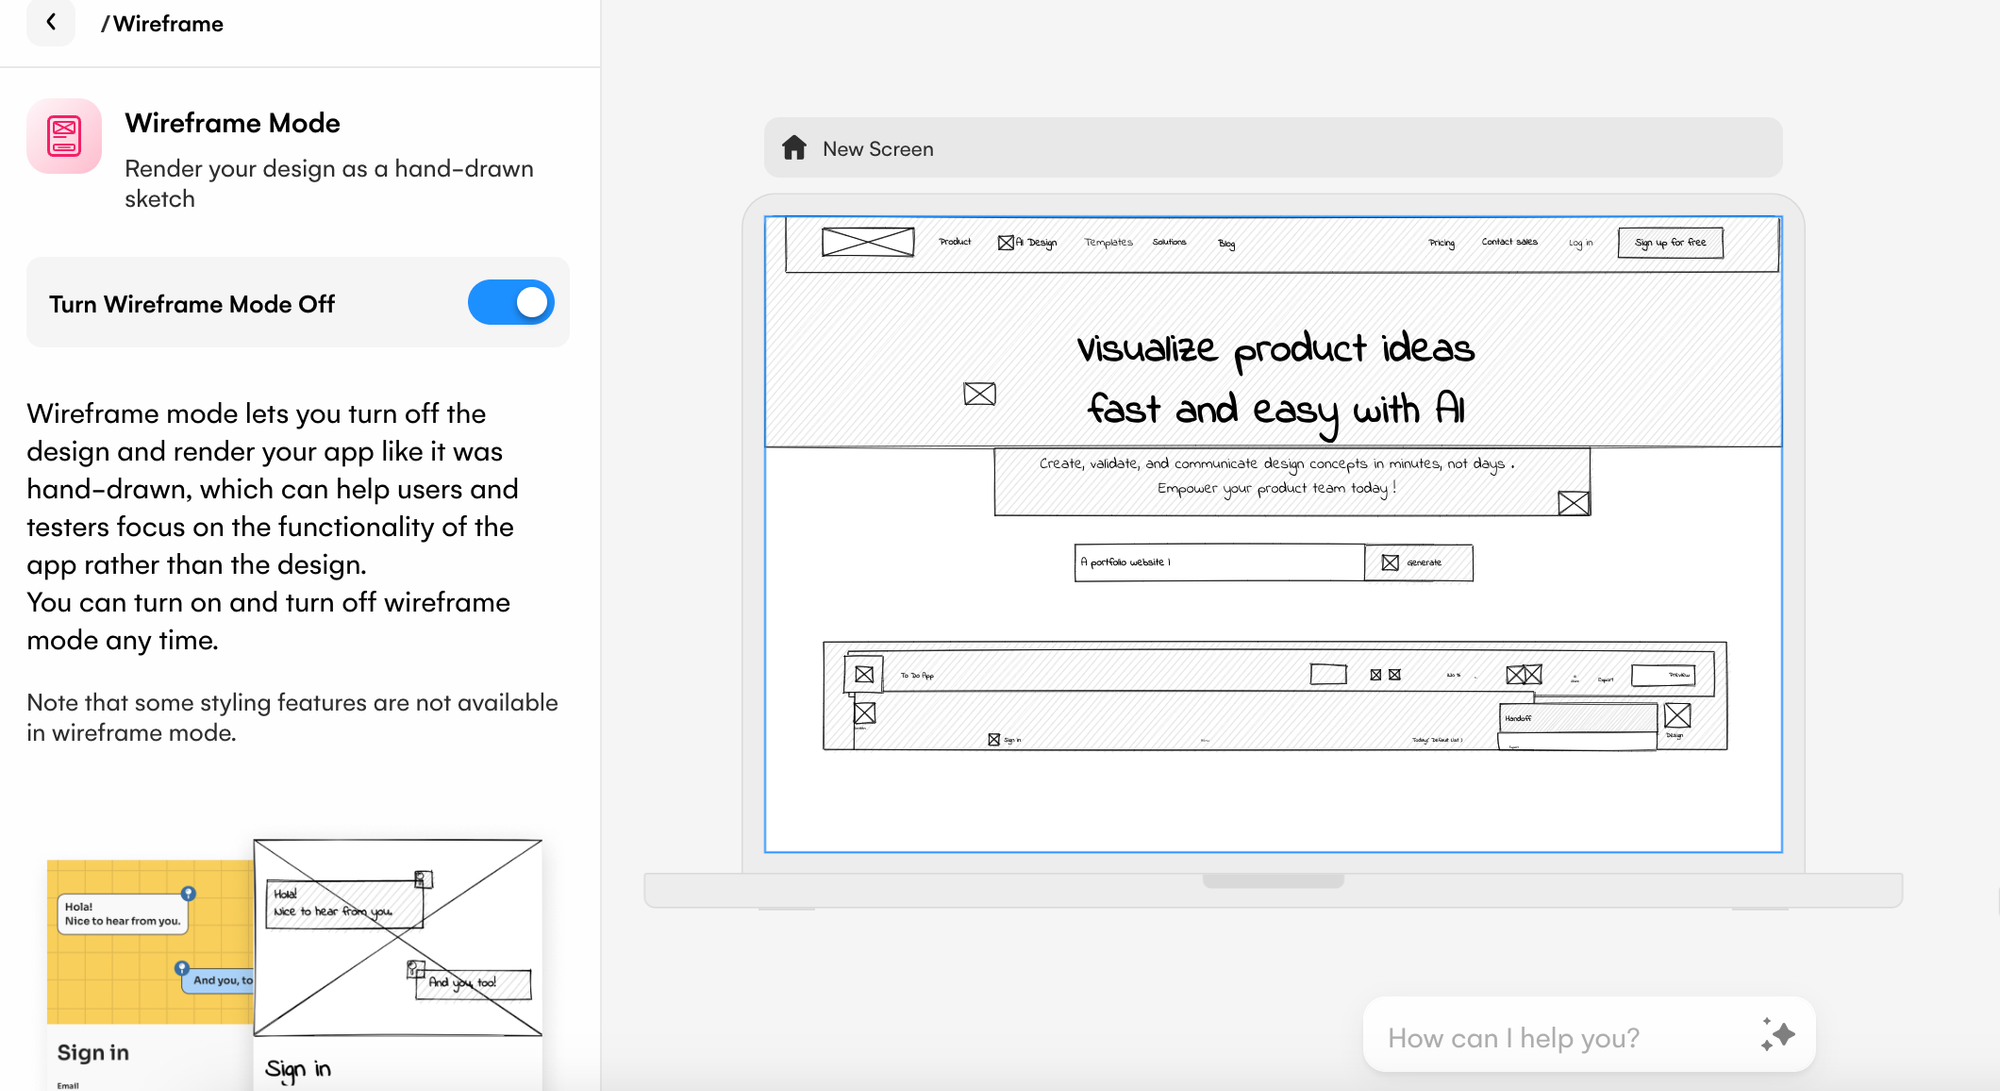
Wireframe Mode
If you’ve started a high-fidelity project in Uizard, but are looking for a way to effectively analyze your layout, you can do so with Wireframe Mode. Switch to low-fidelity quickly and easily using the toggle at the top of the editor, or locate Wireframe Mode in the magic tab on the left panel. You can also export your low-fidelity visuals via Handoff Mode on the right hand panel — you can even pick from a range of formats such as PNG, JPG, SVG and PDF when exporting too. This is perfect for signing off layouts or brief overviews of product changes with stakeholders.
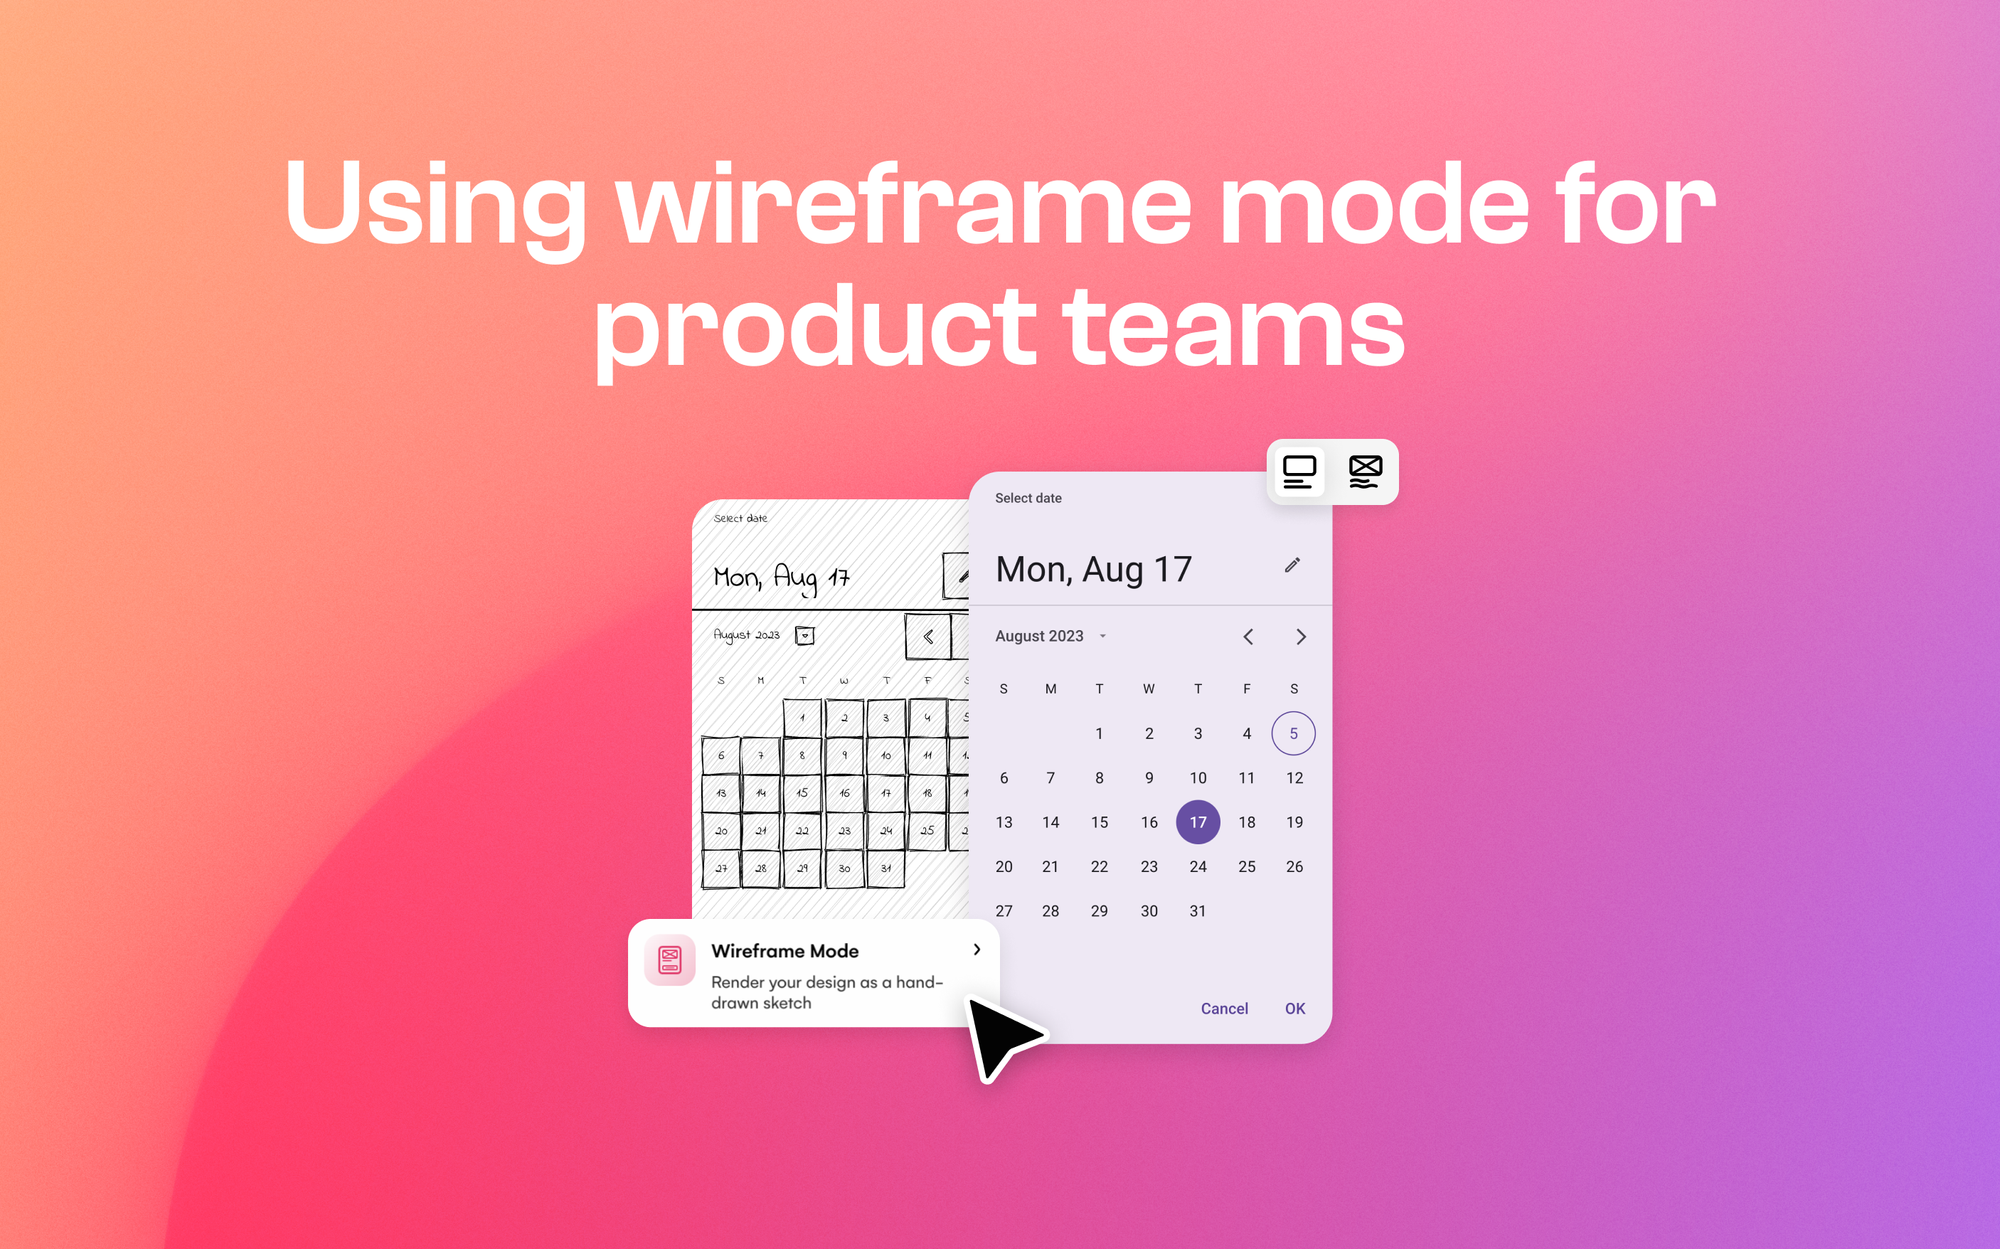
Check out our in-depth article ‘The benefits of Wireframe Mode for product teams’ for more information on how you and your team can benefit.
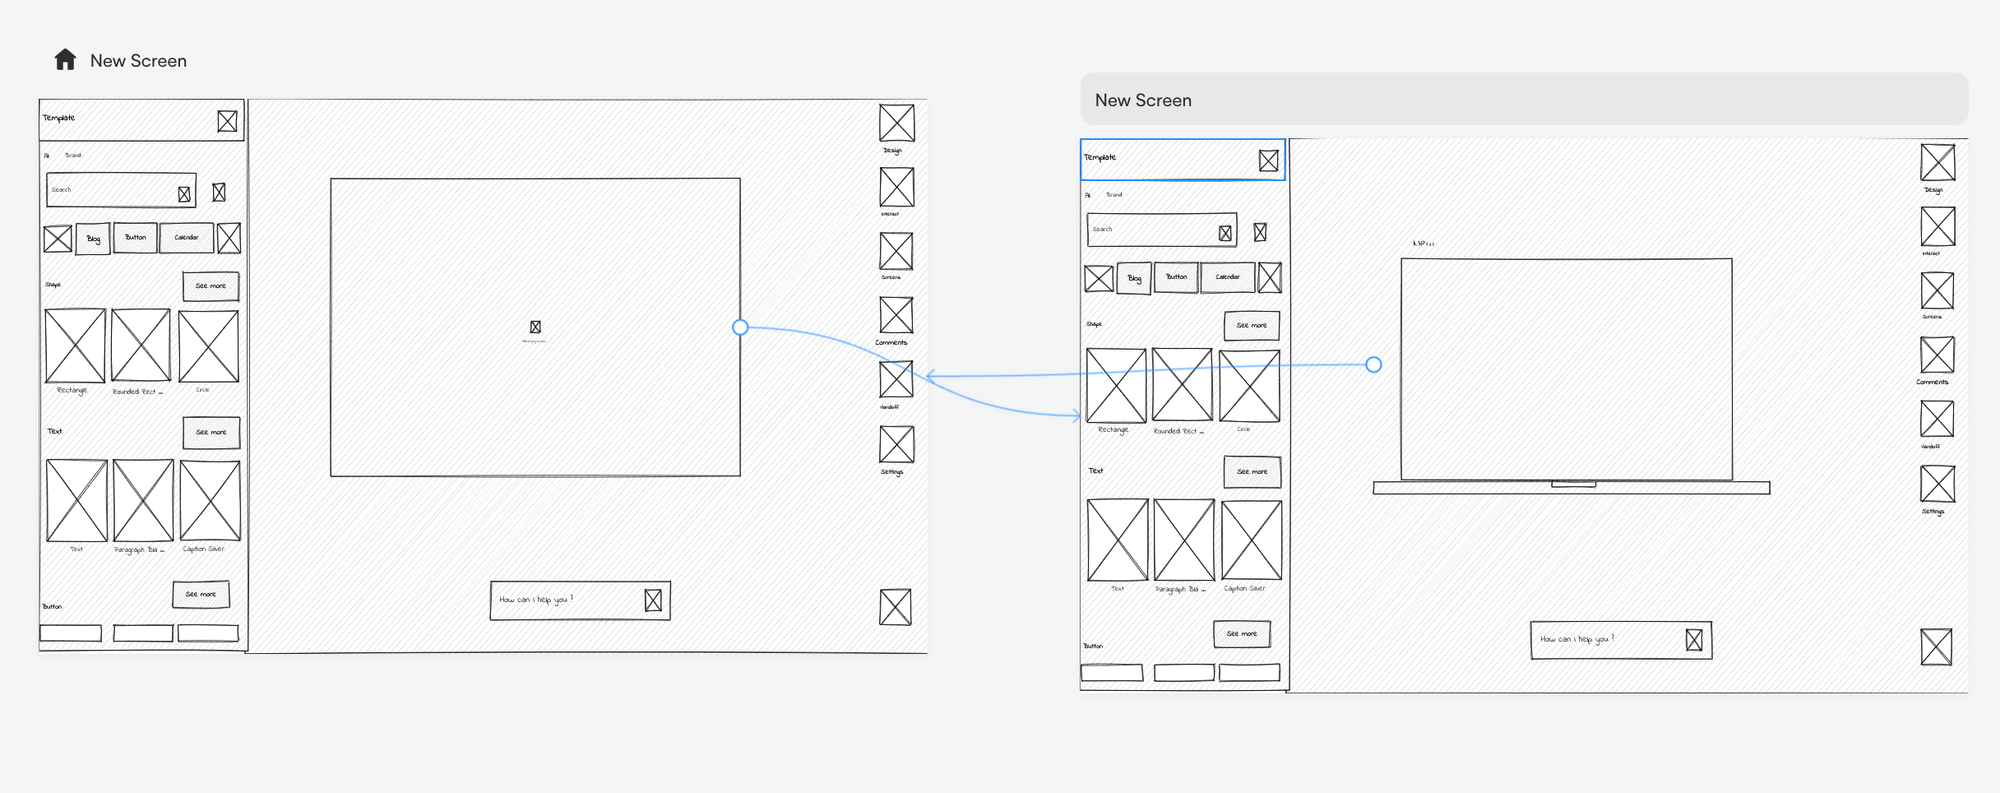
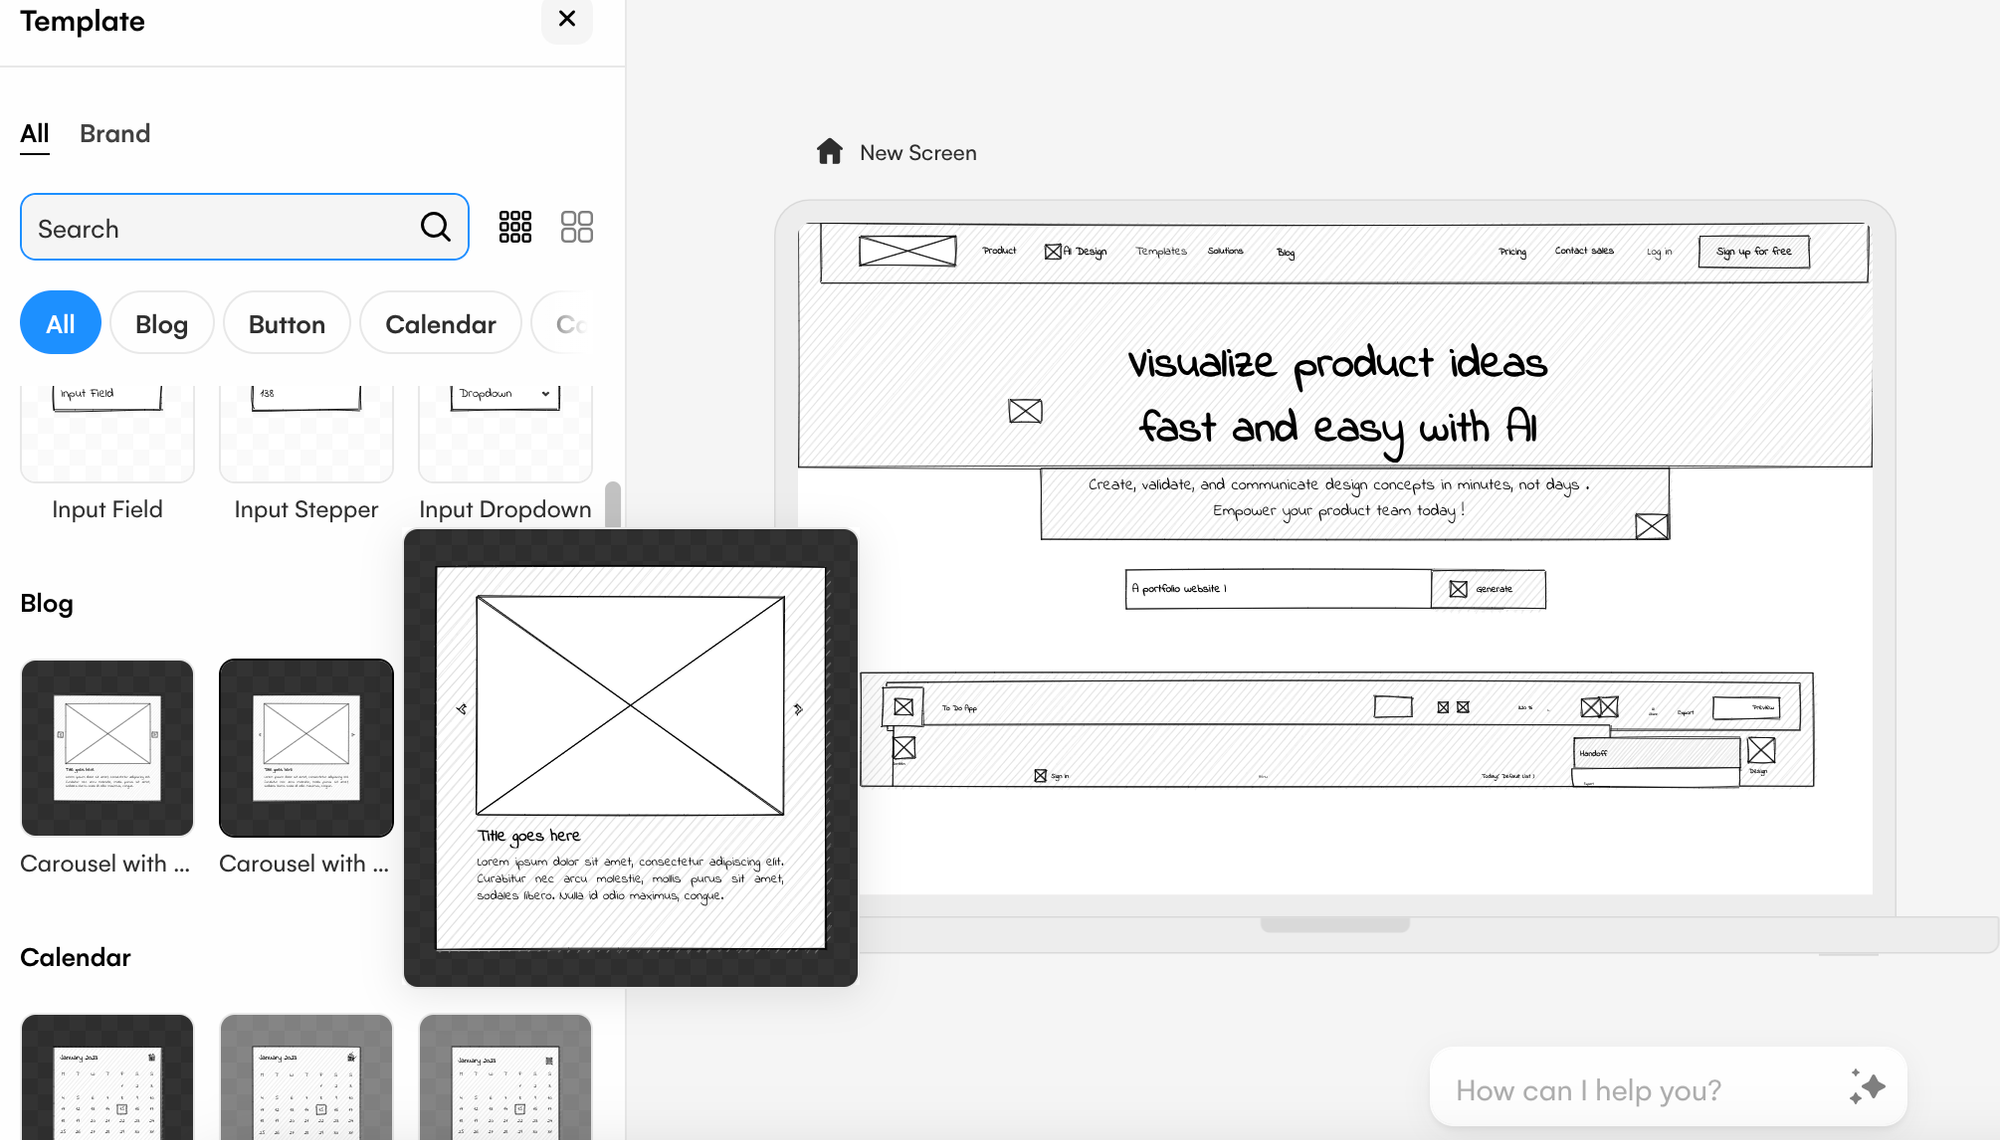
Iterating on product visuals in Wireframe Mode
Once Wireframe Mode is turned on, the UI components library will look a little bit different. The premade components and addable elements will automatically be in low-fidelity. And this means that you can iterate on your wireframe by adding, or swapping out components and elements by dragging and dropping them into place on your design screen.
Screen Generator
In Uizard, whenever you use the Screen Generator with Wireframe Mode switched on, any screen that you generate and apply to your project will automatically convert into low-fidelity. All you have to do is make sure Wireframe Mode is on, and then use the Screen Generator as usual. So this means you can enter a prompt, or upload a design screenshot and your screen generation will transform into low-fidelity once the screen has been added to the canvas.
Related reading:
With Uizard as your wireframing tool you have access to multiple AI-powered features. So, if you want to start wireframing using AI, why not get started with Uizard and sign up today? Or, check out the Uizard Blog for more great articles.